
Upload a reference photoJPG, PNG, WebP · up to 30 MBUpload your photo
01Bring your reference
Upload a photo or drop it into the preview. Start with the sample if you just want to explore. Your image stays in your browser.
A little structure. A lot more possibility.
A free grid maker for drawing, painting, and your next big mural.
Add a grid to your photo, get the measurements right, and print it beautifully.
Upload a reference photo or load the sample to open your drawing workspace.
JPG, PNG, WebP · up to 30 MB
Your photo stays on your device
For sketchbooks, canvases, classrooms, and walls. Your original image proportions stay intact.
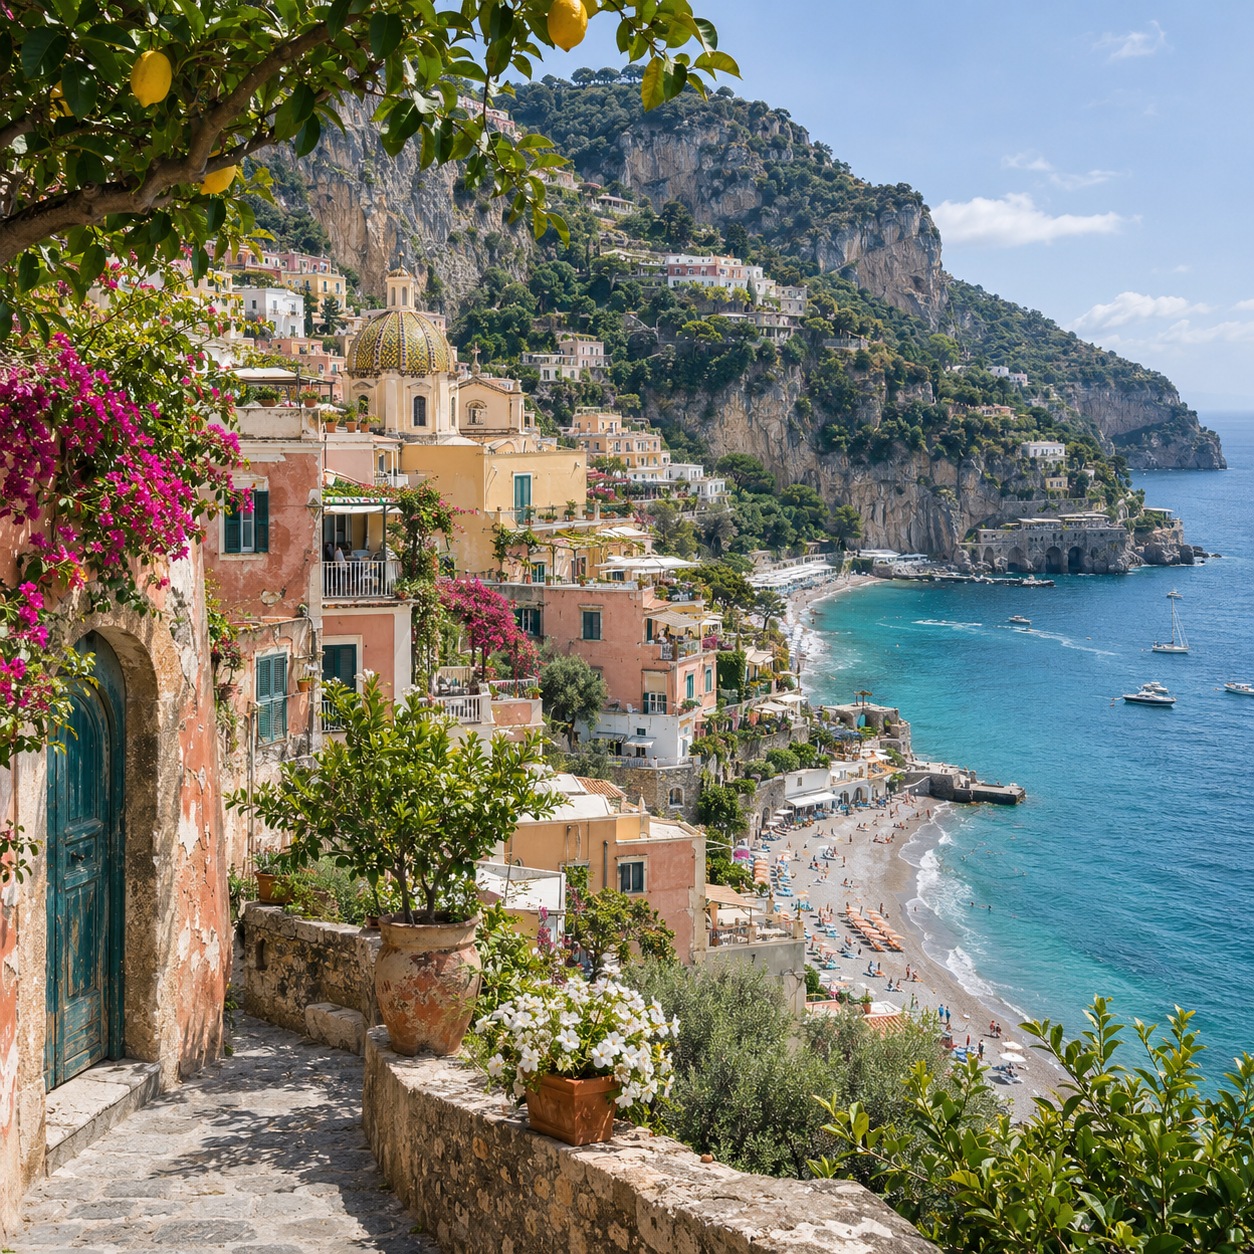
Same cells. Same proportions. Your own artwork.
What is a drawing grid?
The grid method breaks your reference into manageable cells. Draw a matching grid on your paper, then copy the shapes in each square. Proportions fall into place, and even complex subjects feel approachable.
How it works
A reference you can actually work from, in three simple steps.
Upload a photo or drop it into the preview. Start with the sample if you just want to explore. Your image stays in your browser.
Choose the cell count, adjust your lines, and add coordinate labels. Start with fewer cells for simple shapes; add more for fine detail.
Select your paper size and export at 300 or 600 DPI. Print at 100%, mark the same grid on your drawing surface, and take it square by square.
Drawing resources
Compare the original image, its gridded reference and the matching blank sheet. Each pair keeps the same proportions, labels and partial final row.
Source image: 1086 × 1448 px
8 columns × 11 rows · Cell: 23.75 × 23.75 mm
A4 · Portrait · Paper margin: 10 mm · 300 DPI
Square cells preserve your photo’s proportions. The last row is partial; its full-cell measurements are shown above.
Source image: 1536 × 1024 px
8 columns × 6 rows · Cell: 34.13 × 34.13 mm
A4 · Landscape · Paper margin: 10 mm · 300 DPI
Square cells preserve your photo’s proportions. The last row is partial; its full-cell measurements are shown above.
Source image: 1536 × 1024 px
12 columns × 8 rows · Cell: 22.75 × 22.75 mm
A4 · Landscape · Paper margin: 10 mm · 300 DPI
Artwork: 3,000 × 2,000 mm · Each full cell on your wall: 250.0 × 250.0 mm
Enlargement from printed reference: 10.99×. Use the same grid counts on both surfaces.
Start with 4–6 columns for simple outlines, try 8–12 for everyday drawing practice, and add more for complex detail as needed. Column count sets the drawing sections; DPI sets output pixels and print fineness. Increasing DPI does not add missing photo detail.
Why this grid maker?
Your drawing grid should be as useful beside your easel as it is on your screen. Print settings and real measurements are part of the process from the start.
A4, A3, A5, or US Letter. Choose orientation and margins; the photo fits the page without changing proportions.
See the actual width and height in millimetres, updated as you change paper, margins, or cell count. No guesswork with a ruler.
Enter your mural width to get proportional artwork height, wall-cell dimensions, and the enlargement factor from your printed reference.
Print. Pick up a pencil.
Thoughtful tools, fewer distractions
Practical controls for artists, students, teachers, and mural painters.
Use true square cells with automatic rows, or choose custom rows and columns. The original photo is never stretched.
Fine-tune color, opacity, and physical line thickness. Add diagonal guides for tricky angles or switch to black and white.
A1, B2, and beyond. Keep track of small details and match the same cell on your reference and drawing sheet.
Export a high-resolution PNG with DPI metadata or a PDF sized to your chosen paper. No branding over your artwork.
Hide the photo and print the same grid on its own. Cell dimensions and labels match your reference exactly.
Image processing happens locally in your browser. No photo upload, account, or installation needed to use the workspace.
A few helpful answers
Getting started with the grid method, printing your reference, and scaling up your ideas.
Back to the drawing grid toolUpload a JPG, PNG or WebP photo. The drawing grid tool adds a grid automatically. Adjust the number of columns, line color, thickness and labels, then download your reference as a PNG or PDF. Your photo keeps its original proportions.
Yes. All grid controls, cell labels, mural scaling, 300 and 600 DPI exports, PDF downloads and printing are free, with no account and no watermark.
Choose your paper size, orientation and margin in Print setup. Download the PDF for a file with fixed physical dimensions. Print at Actual size or 100%, using the same paper size. Disable Fit to page and browser headers and footers. Measure one printed cell with a ruler before transferring your drawing.
Square cells is the default. Column count determines the cell size and rows follow the image proportions automatically. If the photo does not end on a full cell, the last row is partial rather than stretching or cropping your image. Custom grid lets you set rows and columns independently for rectangular cells.
Open the Mural tab and enter the intended artwork width in millimetres. The tool calculates the proportional height and the width and height of each full wall cell. Draw the same number of cells on your wall, then transfer the reference cell by cell. The calculator scales artwork dimensions; it does not tile a wall-size print across multiple sheets.
300 DPI is a practical choice for most printed references. 600 DPI provides more output pixels for fine grid lines and detail, with larger files and more memory use. Neither setting adds detail missing from a small or blurry source photo. PNG exports include the selected DPI metadata; PDF exports include the actual paper size.
Yes. Turn on Blank grid only to hide the photo while keeping the same grid, labels and dimensions. Download or print it as a matching practice sheet. White grid lines automatically become dark on the blank sheet so they remain visible.
The drawing workspace reads your photo locally and creates the grid in your browser. The workspace does not upload your reference image to a server. You can replace it at any time, and it is not saved by the tool after you close the page.
Start with 4–6 columns for a simple outline or 8–12 for ordinary drawing practice. Add columns only when smaller sections help you place fine details. DPI changes export pixels and print fineness, not the number of drawing sections.
Add a grid to your reference, then draw the same number of proportional cells lightly on your canvas. Match landmarks and outline crossings cell by cell. For a larger surface, use the mural calculator and preserve any partial final row.
For the digital reference, reduce opacity or thickness, choose a lighter line color, or hide the grid in the preview. On real paper, use a light hard-pencil line without pressing into the surface; gently lift it with a kneaded eraser and test a corner first. Digital controls cannot erase pencil marks already on paper.
Yes. Choose a photo from your device, adjust the settings and zoom or scroll the preview. Download PNG or PDF, or use your browser’s print options. Printing and file-saving dialogs depend on your device and browser.
Drawing resources
Create a matching blank grid drawing worksheet from a reference photo. Pair the labeled reference and practice sheet, then export a paper-sized PDF or PNG.
Scale a reference photo to a wall with proportional artwork dimensions, full-cell sizes and enlargement from the printed reference. Start with your photo or the botanical example.
Learn to select a reference, choose a grid, prepare paper, place landmarks, copy one cell at a time and gently remove pencil guides.
Start small or think wall-sized. A clear reference makes all the difference.